


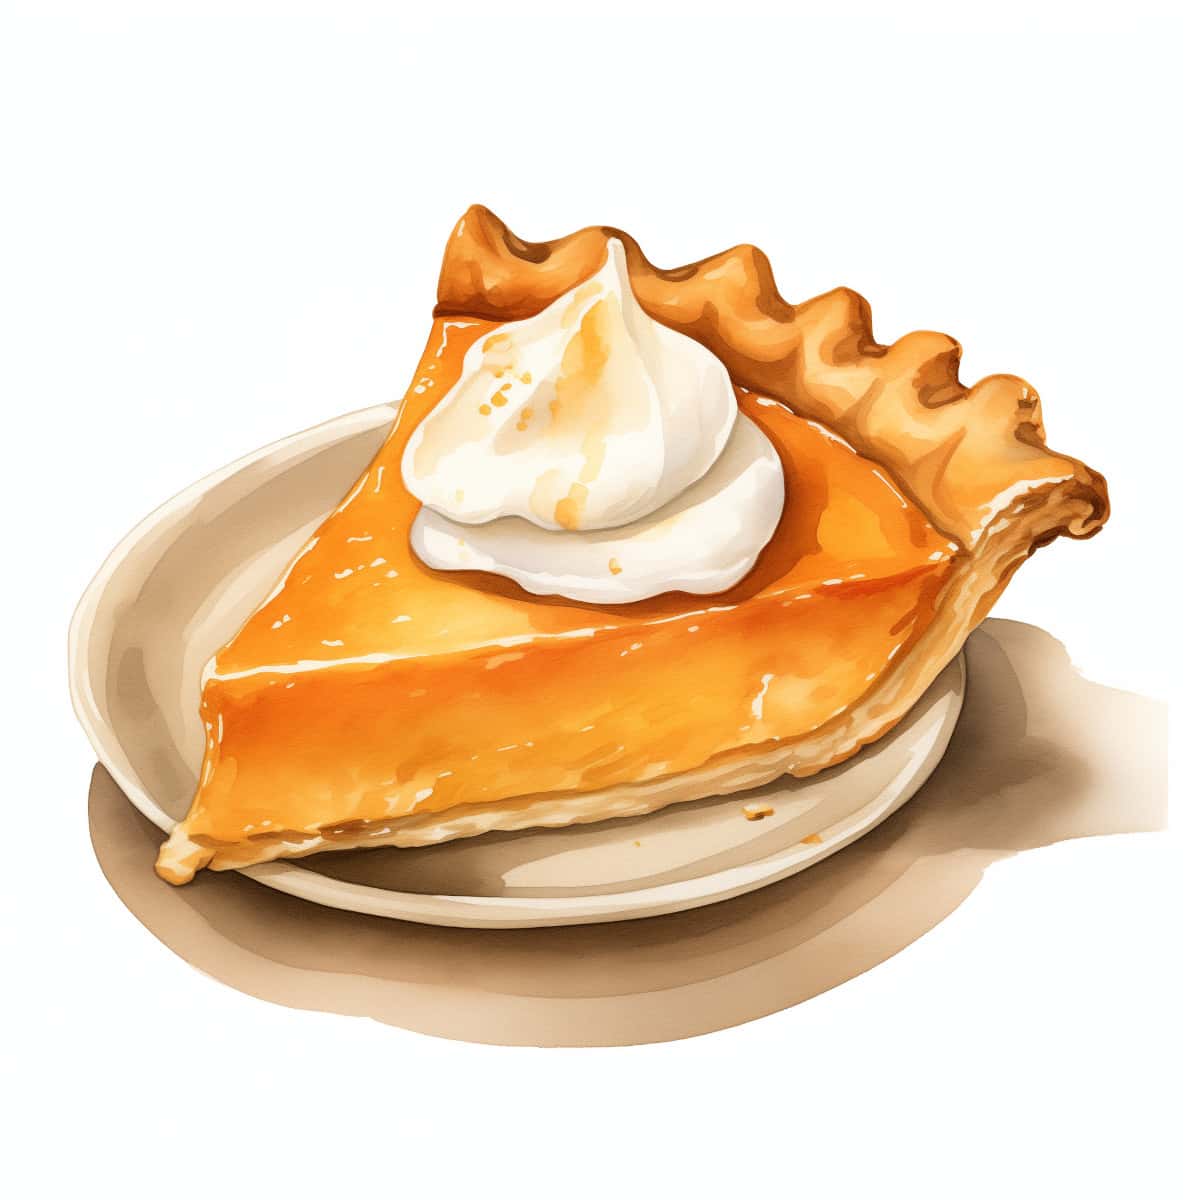
Today is National Pumpkin Pie Day! If you're posting on social media, be sure to tag #NationalPumpkinPieDay.
Customers commonly have two trouble spots when it comes to pumpkin pie: a soggy bottom crust or a cracked filling. The National Pie Day post on December 1st has some tips for the crust issues, which would be perfect to share today if you haven't already. Cracking is a different problem, and a notorious pumpkin pie issue. Fortunately, it's one that's completely solvable!
How to Achieve A Smooth Pumpkin Pie
Pumpkin pie filling cracks when it's overcooked. This is due to proteins in the eggs which tighten up as the temperature climbs. The first trick for a customer to try is simply pulling the pie out of the oven sooner!
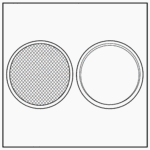
Most recipes instruct that pies should be pulled out of the oven when the center is still jiggly, but what exactly does "center" mean? To keep from cracking, at least 4" in the middle should be loose (but not liquid). For pies baked in a ceramic or glass pie plate an even larger radius should be jiggly. Both of these materials retain heat and keep cooking the pie long after it has been removed from the oven.
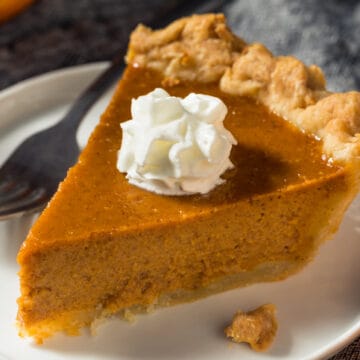
Pumpkin Pie
Ingredients
Crust
- 162 grams all purpose flour
- 1 ½ teaspoons granulated sugar
- ½ teaspoon salt
- 8 tablespoons unsalted butter (1 stick)
- ¼ cup ice water
Filling
- 1 can (15 oz) pumpkin puree
- 1 ¼ cups dark brown sugar packed
- 1 Tablespoon cornstarch
- ½ teaspoon salt
- 1 teaspoon ground cinnamon
- ½ teaspoon ground ginger
- ½ teaspoon ground nutmeg
- ⅛ teaspoon ground clove
- 3 large eggs beaten
- 1 cup heavy cream
For Serving
- whipped cream
Instructions
For the Crust:
- Add the flour, sugar and salt to the bowl of a food processor. Pulse a few times to combine
- Cut the butter into ~½" cubes, then add to workbowl of the processor. Pulse 8-12 times until the butter is incorporated and many pea sized pieces remain.
- Dump the contents of the work bowl into a mixing bowl and add the cold water. Incorporate by hand, working quickly. The dough will go from a shaggy mass to a smooth dough ball. Cover with plastic wrap and lest rest in the refrigerator for 45 minutes
For the Filling:
- If using a ceramic pie plate, set the oven rack to a position in the lower ⅓ of the oven. If using a metal pie plate, set the oven rack in the middle position. Preheat the oven to 375°F.
- Poke the bottom crust evenly with a fork, docking the dough to allow steam to ecape.
- Line the pie shell with aluminum foil or parchment, then fill with pieweights, rice or beans. Bake for 15-20 minutes until the crust is lightly golden.
- While the shell bakes, prepare the filling. In a mixing bowl or batter bowl, whisk together the pumpkin puree and brown sugar until thoroughly combined. Sift cornstarch and spices onto the pumpkin mix and gently whisk to combine. Add the eggs, whisking gently until the mix is a uniform consistency. Lastly, add the cream, again whisking gently (trying not to whip in too much air) until the filling is once again uniform.
- Once the crust has started to turn golden, carefully remove the hot aluminum foil and weights. Return the shell to the oven for 3-5 more minutes to help set the base of the shell.
- Pour the pumpkin filling into the warm, pre-baked crust, only filling about 3⁄4 of the way up the crust. Bake the pie until the center is almost set, about 50-60 minutes, checking every 5 minutes starting at 50 minutes. In my oven, it’s 55 minutes exactly. The center will be somewhat jiggly, like jello, but it shouldn’t be liquidy. After 25 minutes of baking, you may need to cover the edges of the crust with a pie crust shield or aluminum foil to prevent over browning.
- Transfer pie to a wire rack and allow to cool completely for at least 3 hours. Serve with whipped cream if desired. Cover leftovers and store in refrigerator for up to 3 days.
Nutrition
Practice makes perfect when it comes to pumpkin pie. Knowing what "jiggly" looks like and how much of the pie should be in that state are key to getting a perfect pie in changing conditions, like in a new oven or around new people (who really want you to leave that pie in just a few more minutes)!
Customers that are science-y types might want a temperature go by. The first few pies that have their temperature taken will be a little marred, but it's the surest way to knowing exactly how long a recipe needs to bake in a particular oven. King Arthur Flour recommends pulling pumpkin pie when the center measures 170 degrees1.